 |
When was the last time you used watercolor pencils? If it's been a while (or if you never have) I hope this post inspires you to pull them out and start playing. Along with the art I am sharing in this post, I'm also sharing some great tips for blending with them.
All of the products that I used for these cards are pictured with links at the end of this post. I'll also picture a few of them here within the post.
First let's start with close ups of each card and a detail shot as well:
There are four main products I used to create these cards:
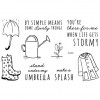
1. Rainy Day Stamp Set (you can use any lined stamp set)
2. Archival Black Pad (you will want to be sure you choose the Archival Black because once it's dry, it won't bleed when you use your pencils and blending pen)
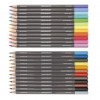
3. Watercolor Pencils
4. Blending Pen
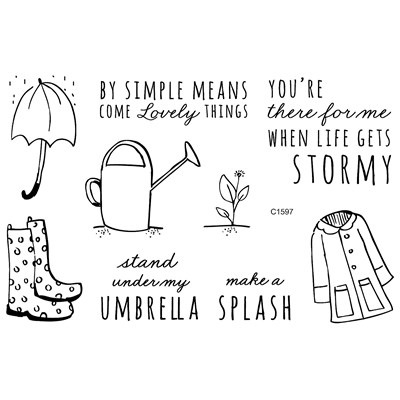 | ||
| Rainy Day Stamp Set |
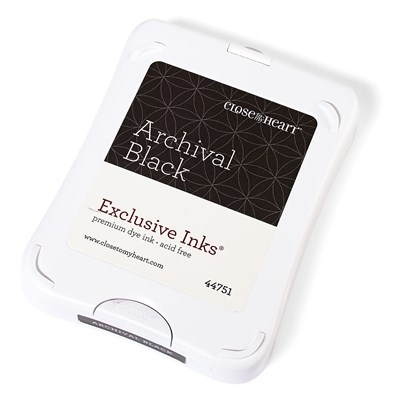 |
| Archival Ink Black Pad |
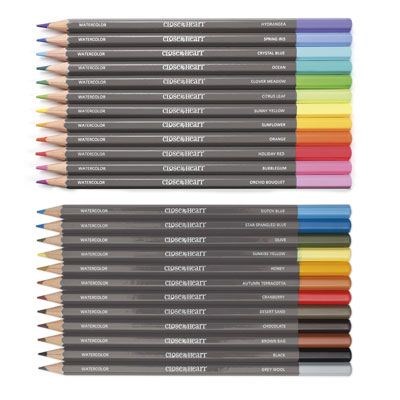 |
| Watercolor Pencils |
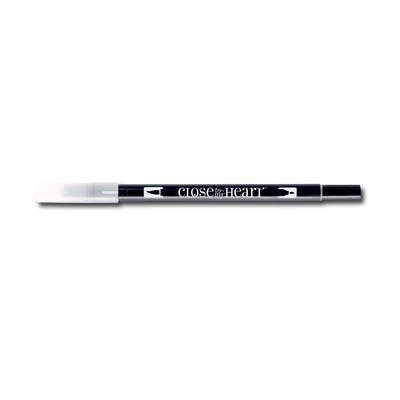 |
| Blending Pen |
- Try using these pencils without water, just as regular pencils. They are very smooth and look great this way.
- If you plan to use your pencils with water or a blending pen, be sure to stamp in our Black Archival Pad. The regular black is water based and will smear when you wet the pencil color to blend.
- When using these pencils with water, don'€™t color in the whole portion of the image you want. Just color the part you want the darkest and pull your color in with a blending pen. It's important that you start on the uncolored part of the image with your blending pen to get the area a bit wet, then pull the color in.
- Sometimes mixing colors is pretty. You'll want to color your area with both colors first and then blend them with the pen.
- These pencils look the smoothest when you don't color with a sharp point. After sharpening, rub the tip of your pencil on a scratch paper to create a slightly angled tip and then color with the flat surface of the angle.
- When coloring larger areas, try to use the longest strokes you can. When coloring in small circles or short lines, the color doesn't blend as beautifully. If you are coloring a circle, for instance, color the side of the circle you want the darkest by pushing hard with the flat side of your angled tip along that side of the circle, going up and down along the edge of the circle and working your way in. Use less and less pressure as you work your way in and with that combination of long strokes and pressure, you'll be much happier with your look.





3 comments:
This post makes me want to dro everything and start playing. I don't have a lot of coloring confidence but with just a couple of these tips I can see what I've been doing wrong.
These are great, Karen. I guess when I'm done using my ink pads as watercolour paints, I'll have to get some watercolour pencils!
Such lovely cards, Karen!
Post a Comment