

I whipped up this little beauty for a wedding we are attending this weekend. So, I thought it appropriate to use something old, something new, something borrowed, and something blue.

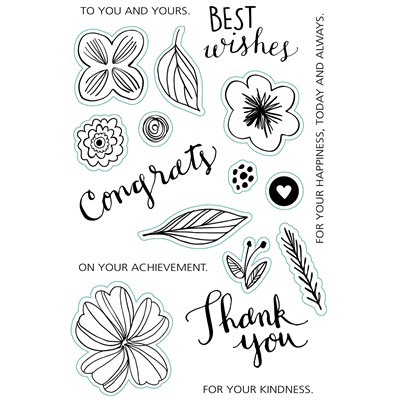
Something old: The flower stamp set that I used for this card is retiring on April 30. After that, it's gone for good. Order yours today here. I've also included a full products used list (minus the two things on this card that you can't get until May 1) at the end of this post, complete with photos and links for your convenience.
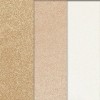
Something new: The white and canary striped paper comes from a new kit that debuts on May 1, called Calypso. It's gorgeous and I can't wait for you to see it (think flamingos and pineapples!). The new mini-catalog (Expressions 2) that it is in will be on my blog on Sunday morning, May 1 for you to browse through page by beautiful page. The sentiment (real moments) is from a special stamp set that is only available in May (Happy Times). Again, check back here on my blog on May 1 to see the whole set and find out how to get it.
Something borrowed: I kind of 'borrowed' the idea for the flowers from a gorgeous card my friend, Lisa Stenz created here.
Something blue: There is a tip of a flower on there that has some blue, and there's a tad bit on the bottom watercolored panel of the card.
-----------------
Wondering how I got those soft, watercolored flowers and bottom panel of the card? How 'bout I tell ya? Read on, my friends!
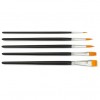
1. First, you'll need a sheet of Watercolor Paper. Take your wide brush and some water and lightly brush the whole surface with water. This "preps" your paper for a nice, smooth base for your paints and helps them blend seamlessly.

2. Start brushing watercolor paint back and forth on the paper to get the look you want. Don't stress if you don't think it looks 'perfect.' It's okay. Once you stamp your flowers and things on it, you'll never notice. Can you see a few little finger prints on mine? No worries! I'll cover them up or stamp around them.

3. I painted on that was more of a rainbow look, and one in different shades of green. I used the rainbow one for flowers and the green one for leaves and branches.


4. Let your paper dry. It took about 5 minutes for mine to dry. After it's dry, stamp your images.


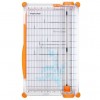
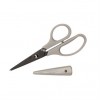
6. Lastly, cut those puppies out (I like to cut them out with a very slim border around them {you can see this if you look at my card again}) and use them on your cards/layouts/projects. I did the exact same technique for the bottom watercolor panel of my card. I just didn't stamp on it.


2 comments:
I LOVE this card and this technique!
I LOVE this card and this technique!
Post a Comment