 |
| 5" x 5" card created by Karen Pedersen |
Although it's been a week of high temperatures in Utah (we even set a state record at 94 degrees on Wednesday), that hasn't stopped the trees on the mountain by my house to know what season is coming. The leaves are changing and the colors are so pretty.
This little 5" x 5" card feels just like this week has felt to me: full of Autumn colors on the mountain, but still lots of green right down here in the valley.
I think the September Stamp of the Month (Family is Forever) is such a great set. On this card I decided to spend a little bit more time than I normally would on a single card because I wanted to see how that beautiful tree would look paper pieced and shiny. Here are step-by-step instructions to how I created the tree piece. I hope you like fussy cutting (wink). I actually find it kind of relaxing and a bit therapeutic.
Reminder: You get can this set in September only and it's only $5 ($17.95 value) for every $50 you spend (before shipping and tax). Head on over to my website to order. You'll be prompted to add your Family is Forever set before you check out.
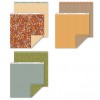
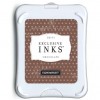
- Stamp the tree in Chocolate Ink on Goldrush Cardstock.
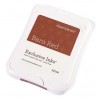
- Stamp the tree again in Barn Red Ink on Colonial White Cardstock.
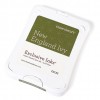
- Stamp the tree again in New England Ivy Ink on Colonial White Cardstock.
- Carefully cut out the hearts from the Barn Red stamped tree and adhere them over the hearts on the Chocolate tree. I love my Non-Stick Micro Tip Scissors for jobs like this one.
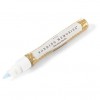
- Carefully cut out the leaves from the Topiary tree and adhere them over the leaves on the Chocolate tree. I really love the small tipped Glue Pen to adhere small, detailed pieces.
- Sponge the edges of the Goldrush piece with Chocolate Ink and a Round Sponge.
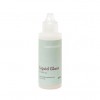
- Squirt a generous amount of Liquid Glass on the Goldrush piece (I'd say a good quarter to half-dollar size puddle). Using a small sponge brush, "paint" your liquid glass all over the piece, making sure to get it in between all of your fussy cut pieces and covering everything. Smooth it out and set aside and let it dry. (Tip: As it dries, your piece may "curl" a bit. Once it's dry, just put it under a stack of books for a bit and it will flatten right out).






3 comments:
Love it
Love the layer of "shine" over the entire Goldrush piece. Great job paper piecing too!
BEAUTIFUL card Karen!!! The liquid glass adds so much! TFS!!!
Post a Comment