

Before we talk about these yummy cards, let's remind ourselves that tomorrow is the last day of my Cruise Special. Be sure to check out the last post for all the details.
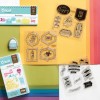
NOW, let's talk about the cards. I had fun creating these with my Cricut and the stamp set that comes in the Georgie Scrapbooking Workshop on the Go. Not only does this workshop give you beautiful scrapbook pages, but it comes with this awesome stamp set that is perfect for so many baby projects.
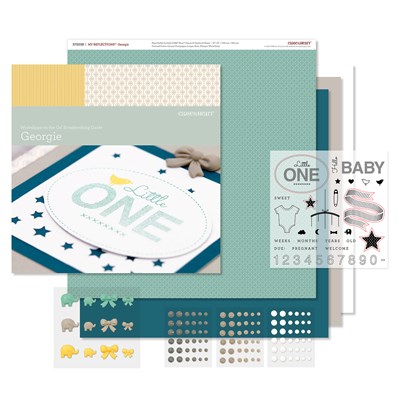
Here is the layout I made with this workshop:


Now, let's go back to those baby cards...


Don't you just love that ombre watercolor look? Would you like instructions on how I made this card? Well, then I think I'll give them to you! Be sure to check out the products used list, complete with photos and links to those products on my website for your convenience, after my signature at the end of this post.
1. This is a 6" x 6" card. So, you'll need a 6" x 12" piece of White Daisy Cardstock, then score at 6" and fold in half.
2. From a piece of White Daisy Cardstock, cut the Chevron overlay from the CTMH Artbooking Cricut Cartridge at 5". Cut the oval on page 25 of the CTMH Artistry Cricut Cartridge at 2 1/4".
3. Cut the oval on page 25 of the CTMH Artistry Cricut Cartridge at 2" from Watercolor Paper.
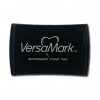
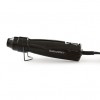
4. Using a Versamark Pad, White Embossing Powder, and your Heat Gun, emboss the "Little One" image from the Georgie Workshop on the Go Stamp Set on your 2" Watercolor Paper oval. {Not sure how to heat emboss? First stamp your image with Versamark Ink. Sprinkle White Embossing Powder on top and then shake off the extra onto a sheet of paper so you can pour it back into the jar. Finally, heat your image with the heat gun (kind of waving the gun until the powder melts and embosses. Don't hold your gun in one spot or it can scorch your paper). Voila!}.
5. Using Watercolor Paints and Watercolor Paint Brushes, as well as water, paint over the "Little One" oval by starting at one edge and painting back and forth to the top. You can go back and add a bit more paint until you get the desired effect. You will want it to gradually get lighter as you work your way. Once you have painted, carefully take a q-tip and remove any paint that may be adhering to the white embossing.
6. Cut a piece of 5" x 5" Watercolor Paper and do the same to this square as you did to the "Little One" oval.
7. Let watercolor pieces dry about 5-10 minutes.
8. Adhere the Chevron overlay on top of the 5" x 5" Watercolored Paper. Attach this to the front of the card, centered. I chose a top fold card so that I could tie a ribbon all the way around the card.
9. Tie a ribbon around card, into a knot, leaving 1 1/2" tails.
10. Adhere the "Little One" oval to the larger White Daisy Cardstock oval.
11. Using 3D Foam Tape, adhere this to the front of the card.
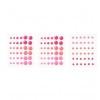
12. Lastly, add some fun blue or pink accents. I used Flamingo Dots on the pink card and Blue Dots on the blue card.
There you go! You're set! I hope you enjoyed that little tutorial and that you have tons of fun creating your own baby cards!


No comments:
Post a Comment