pin it button

Showing posts with label Fundamentals. Show all posts

Tuesday, February 21, 2017

Pink and Purple Layout


This layout of our granddaughter, Sage at the fair, is made entirely with the Adventure Fundamentals Paper Packet and some White Daisy Cardstock, and accented with our Adventure Fundamentals Complements and a bit of Gold Sequins and Gold Shimmer Trim.  Really, there are very few products used here, but the look is awesome sauce! I love our Fundamentals Line!  (layout inspired by Becky Lehman)

Here are a few close ups of the layout. You can find a complete products used list at the end of this post, along with links and photos for your convenience.


Monday, December 12, 2016

Floral Layout and Mini Albums Special


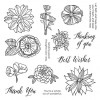
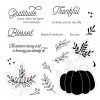
This little granddaughter of ours never ceases to make me smile. Doesn't she look heavenly in that dark green? I loved using the December Stamp of the Month (Thoughtful Flowers) on this layout. I thought it perfectly accented the photos and brought out the little flowers along the walkway in the background of the photos.

This stamp of the month can be used for soooo many things; all-occasion cards, birthday, thank you, wedding, sympathy, and even on layouts!


Hurry though, because this stamp is only available in December and is yours for only $5 with every $50 you order (before shipping and tax). Order $100, get 2...and so on.  When ordering on my website, you'll be prompted to add your set(s) before checking out.

Here are a few little details of this layout:

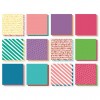
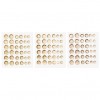
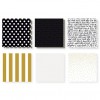
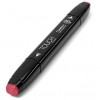
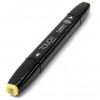
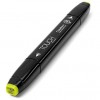
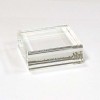
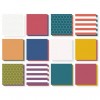
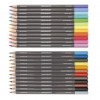
I used my Shin Han Alcohol markers to color and shade the flowers, and I had fun using some of the Adventure Fundamentals paper to create that center strip that pulls your eye to the middle of the page. I also used my Black Shin Han marker to color the Clear Sparkles and Bitty Sparkles. Did you know you can color sparkles any color you want with your alcohol markers?  That makes your embellishments even more versatile!  I've included a full list of the products I used, complete with photos and links for your convenience, at the very end of this post.

Don't forget the 
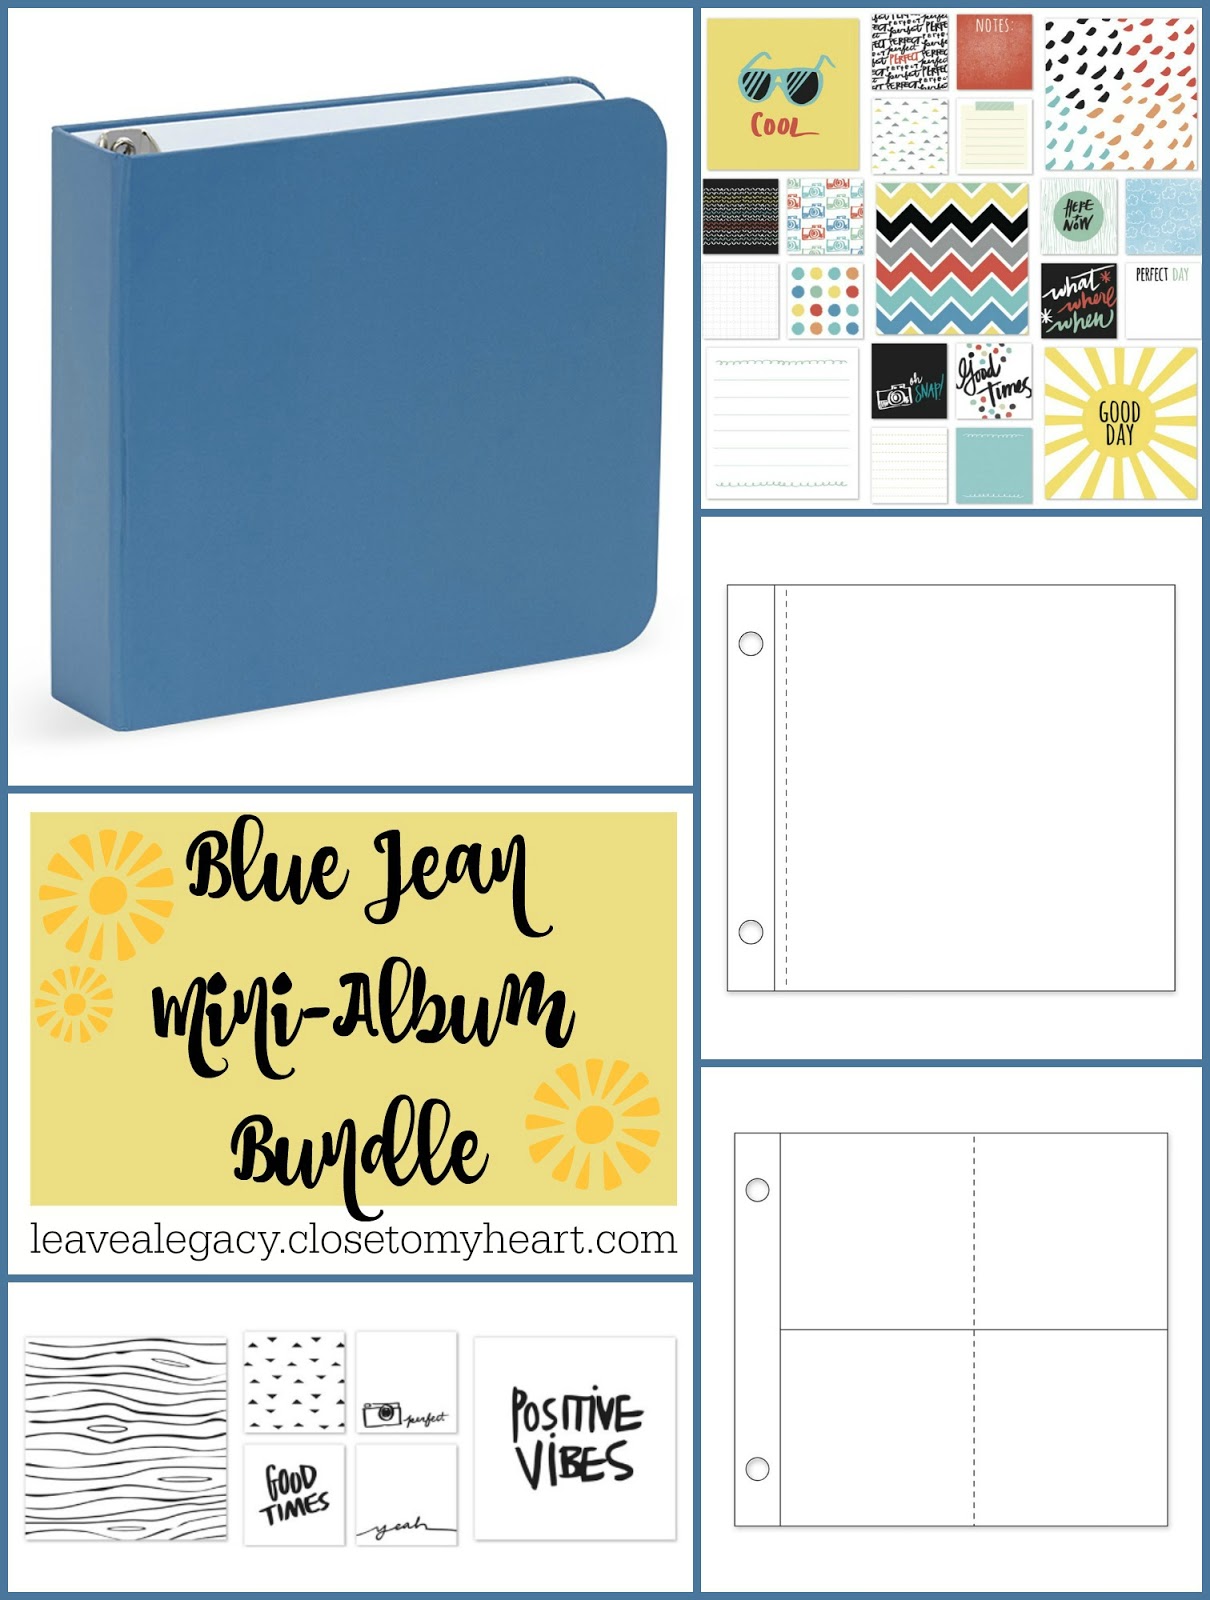
awesome mini-album bundles special this month too.  When ordering on my website, you'll get a little reminder about that before you check out. These little bundles are awesome for holiday giving!

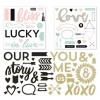
Adorable mini albums for celebrating the little things you love!  So often it's the little things that matter most--and what better way to celebrate the little things in life than with adorable mini-albums?  Whether looking for a meaningful gift idea or a treasured keepsake, these mini albums are a fast and easy option, and this month you save 30% off the retail price of the products you need!  And that's not all!!  Persnickety Prints (in my opinion, the best place to order high quality prints...especially in unique sizes like 2x2, 4x4, 3x4, and more!) has coupled with us on this special. When you purchase your bundle on my website, there will be a link where you can go straight to Persnickety Prints' website and choose the prints you need. The link will take you to a page where you can see the album collections and a link for the correct sizes of photos

Albums bundles available with special:

A.  Blue Jean Mini-Album Bundle (retail value $27.75, discounted price:  $18.95):


  • Instalife Album - Blue Jean
  • #Life Cards - Enjoy
  • #Life Overlays - Enjoy
  • Memory Protectors Mini 4" x 4"
  • Memory Protectors Mini 2" x 2"

B.  Blush Mini-Album Bundle (retail value $27.94, discounted price: $18.95):


  • Instalife Album - Blush
  • #Life Cards - Hello Gorgeous
  • #Life Overlays - Gold
  • Memory Protectors Mini 4" x 4"
  • Memory Protectors Mini 2" x 2"

C.  Adventure Mini Album Bundle (retail value $29.85, discounted price: $19.95)


  • Everyday Life Album - Stripes
  • My Crush Adventure Calls
  • Memory Protectors (choose 6" x 8", 4" x 6" or 3" x 4") 


Monday, September 5, 2016

Blessed Beyond Measure Layout and Colored Pencil Shading Tips


I was looking through some of my mom's photo albums last month and ran across this gem.  Are you kidding me?  This was way back in 1996. How did I not have a copy of this photo. I pulled out my trusty cell phone and snapped a photo of the photo, uploaded it to my computer, did a little editing, then printed that baby out.  Of course, it's not nearly the quality of the original (which was glued down and was not coming up to scan), but I'm so glad I have it. Since then, as I've showed this pic to some friends, I've heard this comment several times, "You guys look like an 90's sitcom family in this photo!"  I'm not sure if that's a compliment of not.  (lol).

I used the September Stamp of the Month (Blessed Beyond Measure) as my accent on this layout (the title and the pumpkin) and used papers from the new Enchantment Fundamentals pack for most of the background and the little flags along the side of the photo.  I've included a full list of the products I used, complete with photos and links for your convenience, at the end of this post.


Remember that this stamp set is only available in September and is yours for only $5 ($12.95 savings) with every $50 you order. Order $100, get 2...and so on. When ordering on my website, you'll be prompted to add your set(s) before checking out.

Here are a few close ups of the layout.  The first shows the flags I used down the side of my photo.  along with papers from the Enchantment Fundamentals pack, I also used some of the stamps from the Stamp of the Month to stamp tone-on-tone designs on some cardstock.


In this photo, you can see the close up of the pumpkin, which I stamped in Goldrush ink then used my watercolor pencils (without water) to shade on top.  I will give you a little detailed photo of how to do that below.  Another fun detail this photo shows is that on the "word search" paper from the Enchantment Fundamentals pack, there really are fun words to find and circle, which is a nice touch on this layout.  I just chose a few words that I thought went with my layout and circled them with my journaling pen.


Colored pencil shading on solid stamping:


Steps to shading on solid stamped images with colored pencils:

1. Stamp your solid stamp. In this case that is the pumpkin design. I stamped it in Goldrush ink (first pumpkin).

2.  Pick a colored pencil just slightly darker than the base ink color and shade.

A few tips:
  • take your pencil on a scratch piece of paper and rub it at an angle. This will make a nice angled flat tip on your pencil. This will make your shading much smoother than using a point to color.
  • start at the place you want to be the darkest on your shading and press the hardest with your pencil. Go back and forth along the length of what you are shading.  As you move in, put a little less pressure on your pencil so the shading gets lighter and lighter and blends with the base ink color.
3.  Once you are happy with your first pencil shading, feel free to find a darker color and do a little more shading at the places you want to be the very darkest. I used 2 colors of pencils on this pumpkin.

Have fun stamping and shading!


LinkWithin

Related Posts with Thumbnails