pin it button

Wednesday, December 8, 2010

Christmas Decorating


Christmas Decorating Done! That includes my very small (5 1/2") tree. We took it out of the box and a whole section was missing. We looked everywhere and it was nowhere to be found. Are you kidding me? Anyway, we made do with a baby tree. A new tree was just not in the budget this year. Hopefully it doesn't look to terrible.

I love what it feels like when the house is all decorated and ready for the holidays. I got it done just in time for my daughter and granddaughter to arrive from Chicago today! WOO HOO! Kori's hubby Rick comes next week, my son, Easton arrives home from school tomorrow. That means, all in one house, we'll have Dan-the-Man and I, Kori, Daci and Rick, Easton (and Daysha after the wedding on Dec. 17), and Dawson. There is nothing that brings joy like family! The only one of us that won't be here for Christmas is Tannon, who is serving a mission in Malaga, Spain. Even though we'll miss him, we know he is in the right place doing the right thing at this time in his life.

I am feeling extra blessed today!

Monday, December 6, 2010

January Play Group Layouts (Magnifique)

Above: Layout #1: Winter Wonderland (featuring photos of my daughter, Kori and her hubby, Rick and their darling baby, Daci)
--------------------------

Above: Layout #2 - "Brrr" (featuring photos of Rick, Kori and Daci again)
----------------------

Above: Layout #3 - "Dance" (featuring beautiful photos of our soon-to-be-daughter-in-law, Daysha {on December 17!}. Photos by Megan Heaps.)
---------------------

It's time to sign up for my January Play Group classes. The three layouts you see here are what we'll be making (feel free to click on any layout to see it larger and in more detail). Don't you just love them? I do! Thanks to my friend, the ultra-talented Kelly English-Triggs for designing Layout #1 and allowing me to use it for my class. You rock, Kelly!

We will be making three 2-page 12" x 12" layouts using the gorgeous Magnifique Paper Pack from Close To My Heart.

Class Dates and Times to choose from in January (held at my home in Highland, UT):
  • Tuesday, January 4, 10 am - 1 pm
  • Tuesday, January 4, 7-10 pm
  • Wednesday, January 5, 10 am - 1 pm
  • Wednesday, January 5, 7-10 pm
In order to attend, you need to do the following:
  1. Call or email me to reserve a date and time (801.360.9896, pedermom@aol.com) no later than Wednesday, December 22.
  2. Choose what you'd like to purchase (see below). You are required to purchase the 'Basic Kit' in order to attend. Anything after that is up to you. You can purchase the 'Better Kit' or 'Best Kit' or pick and choose items from them to add to your 'Basic Kit' order.
  3. Mark your Calendar so you don't forget!
  4. Pack your scrappin' bag with the items you need to bring to class: adhesive, glue dots, 3D foam squares or tape, paper trimmer, a covered drink if you want one, a treat to snack on if you want one.

Basic Kit:
Magnifique Level 2 Paper Pack - $12.95
Flurry Dimensional Elements - $4.95

Liquid Applique - $3.95
Prisma Glitter - $4.25
Shimmer Brads - $4.95
1 extra sheet of Colonial White Cardstock - $.50
Subtotal: $31.55....Merry Christmas from Karen: ONLY $30
Total with shipping and Tax: $34.64

Better Kit = Basic Kit + the following products:
Copper Foundry Medley - $4.95
Oxford Letters Color-Ready Alphabet - $3.95
Pacifica Stamp Pad - $5.25
Pacifica Re-inker - $4.25

Chocolate Marker - $2.95
Pearl Paint - $2.95
Round Sponge - $1.25
Subtotal: $57.10....Merry Christmas from Karen: ONLY $55.55
Total with Shipping and Tax: $63.95

Best Kit = Basic and Better Kits + the following products:
Circle Around Stamp Set - $22.95
Holiday Commentary Stamp Set - $18.95
Sanding Kit - $3.50
Texture Tools - $9.95
Subtotal: $112.45....Merry Christmas from Karen: ONLY $110.00
Total with Shipping and Tax: $126.37


If you are unable to attend my class, but want to re-create the look of these layouts on your own, you can purchase any of the products listed above, or many more for that matter on my website, 24/7...even at Christmas-time!

Don't forget that I am offering 3 FREE THINGS to you this month (if purchased by December 16) that total over $75 in value!

Sunday, December 5, 2010

5 Easy Steps to a GREAT Holiday Gift


Want a quick and easy holiday gift (perfect stocking stuffer) in 5 easy steps? Well then, this is the post for YOU! Keep in mind that you can click on any photo in this post to see it larger and in more detail. Excuse the glare on the photos. I did my best to get rid of it but it was hard with the plastic cover, pages, etc. You get the idea anyway, right?

As you know, my son, Tannon is on a LDS Church mission to Malaga, Spain and we won't be seeing him for 2 years (and vice-versa. ha. ha.). I was trying to think of fun things I could put in a stocking to send him that would be meaningful and came up with this VERY easy and fun idea.

Here are the 5 steps:

1. Go to your local Walmart, Target or similar store and find one of their uber-cheap-o photo albums. You know which ones I mean, the ones that hold about twenty-five 4" x 6" photos and have the ugliest cardstock fronts and backs ever that slide in and out. They are usually about $1.97. Buy one (or two, or three).

2. Go home and slide out the front and back 'ugly covers' that are provided by the manufacturer and make covers of your own to replace them. Slide in your beautiful covers in their place.

3. Print out whatever photos you want to include. For Tannon's mini-album I wanted to include photos of him with his family; photos that would make him laugh and bring back wonderful memories of home whenever he needed a pick-me-up or wanted to show photos of his family to someone on his mission. Print them 4" x 6" size, but if you want to make the book a little bit more special, crop them to 3 3/4" x 5 3/4". Then go to step 4. If you want to be even more simple, you can leave your photos 4" x 6" and skip step 4.

Below: the inside front cover and the first photo in the little book:

Below: the top photo is one of my 3 boys about 10 years ago. They used to stuff themselves with pillows and then play football in the yard. It was the only way we could think of to keep them from killing each other. We called it "Sumo Football." The bottom photo is a photo of Easton, Tannon and their friend, Trevor at a Southern Utah University football game this year. Easton was injured, Tannon was there watching as a recruit, and Trevor was also injured. So, the three of them watched from the sidelines. How cool is it that after his mission, Tannon will be playing college football with his brother, Easton at SUU?
Below: Both photos are of my 3 boys last May. We were getting family photos taken and while we were waiting for the photographer to take some photos of my sister's family, I started snapping some photos of my boys goofing off. I might like these better than the professional ones!

4. Cut photo mats out of cardstock in 4" x 6" size to match whatever colors you used on your covers. I cut mats in Colonial White, Pacifica, Chocolate, Sky, and Lagoon (all Close To My Heart colors). These are the colors in the covers that I made using the papers from the oh-so-gorgeous Magnifique kit. Mat all of your photos. Embellish if you'd like. I just left them plain.

5. Slide your photos in the sleeves in whatever order you would like, add a personal message in the inside cover, and maybe a poem or something fun in the inside back cover (The poem I put in the inside back cover is below. I got this great poem from a book that the Close To My Heart art department made my friend, Linda once.). And VOILA! It's a quick and very easy scrapbook that says , "I Love You" with hardly any time and expense. I made Tannon's little album, including printing my photos (I have my own photo printer) in less than 2 hours.

A Family of Friends

You'll find there's a family of friends living here
a small group of minds, and hearts;
With some of us clever and some of us not
At times you can't tell us apart.

There's one who is cranky, and one who is shy
and one who is really uncouth;
And just when you think you have discovered who's who,
You'll really uncover the truth.


The truth that we're all just a little of each,
A group of imperfects are we
And sometimes I might criticize them to you,
But don't ever knock them to me.

'Cause the one thing that ties us together for life--
No matter how far we're apart,
Is love for each other, a family of friends,
A small group of minds, and of hearts.

Close To My Heart products used: Magnifique Level 2 Paper Pack (X7127B), Sky Cardstock (X5761...all other cardstocks I used came in the Magnifique kit), Designer Ribbon Rounds-Chocolate Collection (Z1127). Remember, you can shop on my website for these and other items, 24/7. Click here to see this month's specials.


Thursday, December 2, 2010

December is a GREAT month for FREE!!!!

How about THREE free things during the month of December? What if I told you how to get all 3 FREE things (about a $75 value), while only spending $104.95 (before shipping and tax). To get them all, you'll want to do it before December 16.

Read on to find out what and how...

THREE free things this month:

1. If you saw yesterday's post, you know that I am offering a FREE 12" x 12" LUXURIOUS faux leather album (over $25 value) FREE from December 1-16 with a one-year Studio J membership. Studio J is CTMH's PERFECT answer to digital scrapping. This is a special available exclusively from ME. Click on the link for more details on this one. If you are not a digital scrapper yourself, maybe you should be! There is nothing on the market more beautiful and more easy to use than Studio J!

On top of that, here are two more things you can get FREE this month:

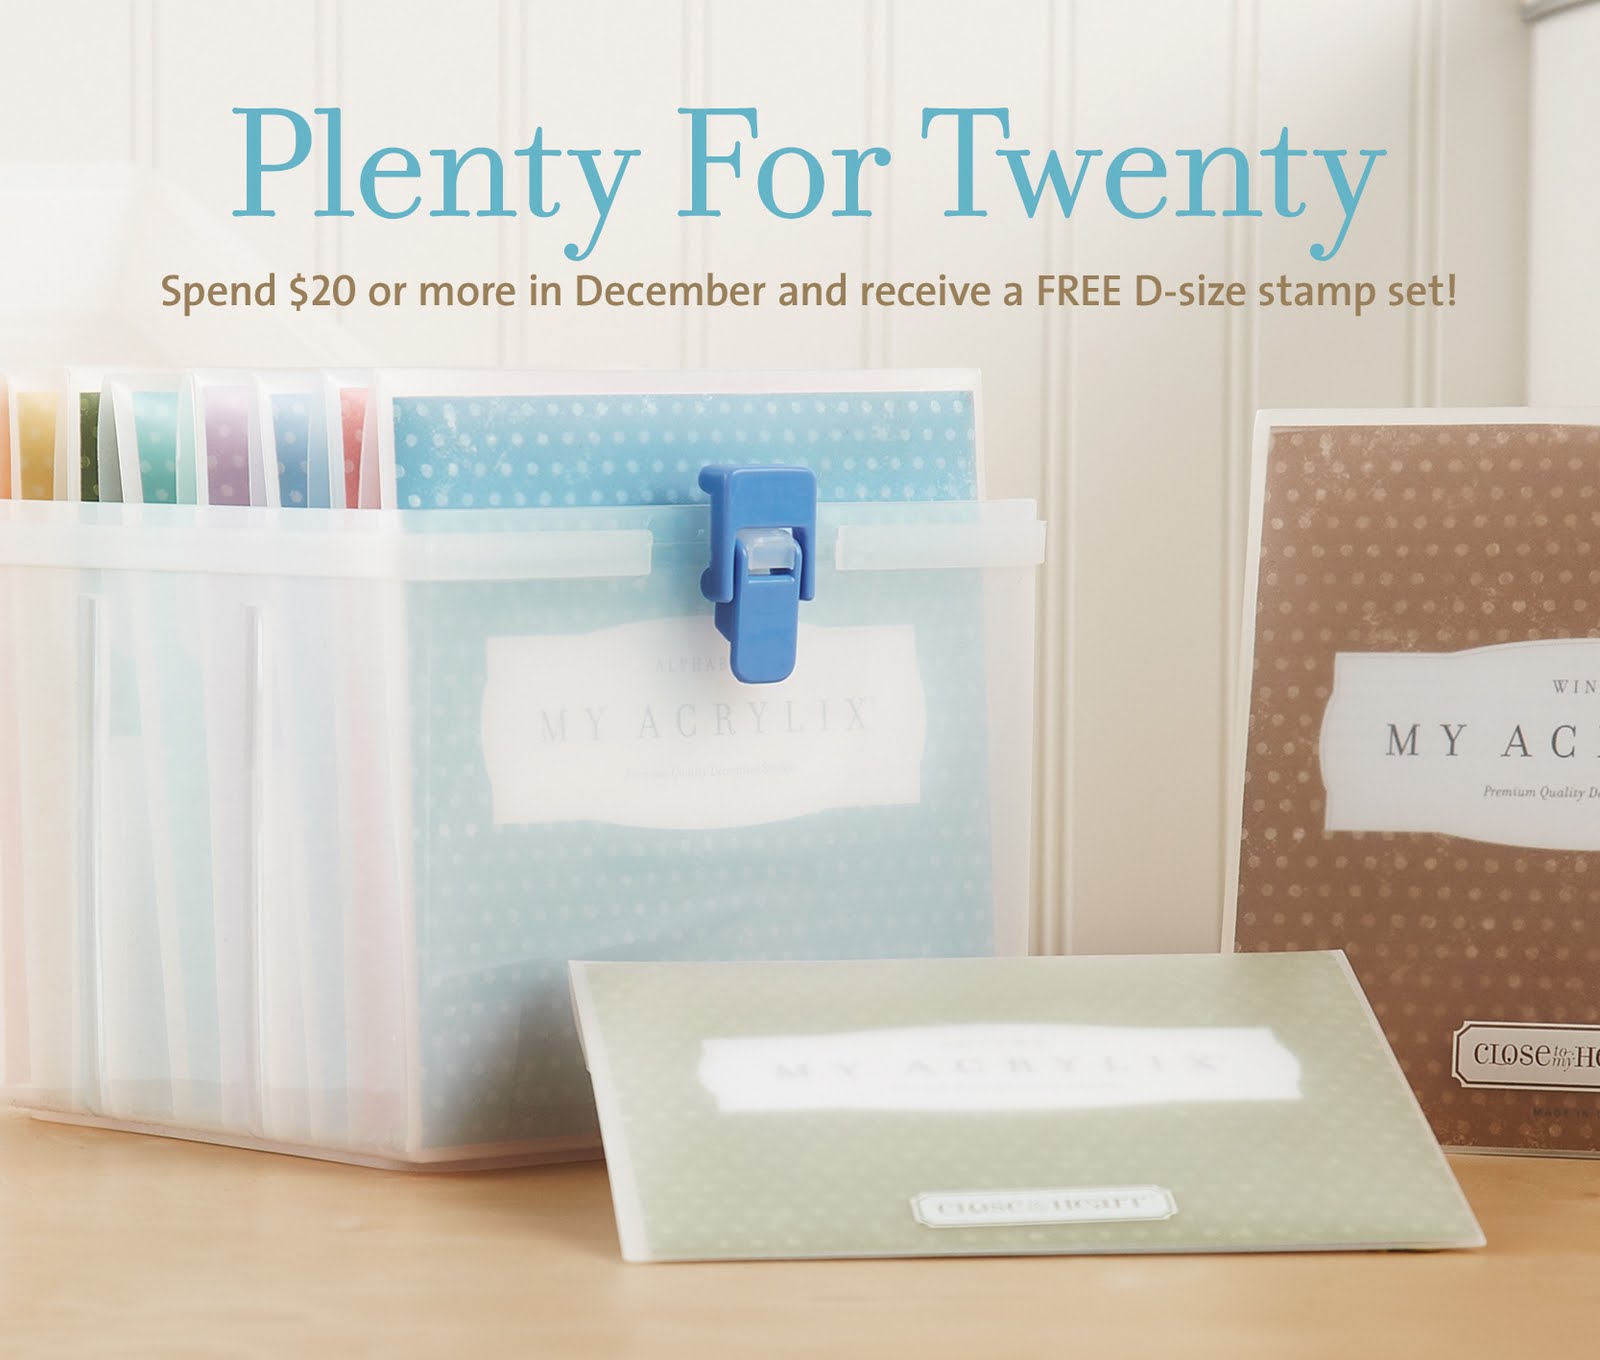
2. Close To My Heart is running a special called "Plenty for Twenty". Here's how it works. Go to my website, click on "Shop Online" and spend at least $20* (before shipping and tax) and Close To My Heart will send you one of our retiring "D" size stamp sets ($22.95 value) for FREE! Wow...that's more FREE than you are even spending!
*If your purchase is a Studio J membership, you must also purchase something that will be shipped to you to qualify for the free stamp set.
3. If you spend $100 (before shipping and tax), then you will also receive the beautiful "Amore" stamp set (December's Stamp of the Month) FREE ($22.95 value). Here is a photo of the carrier sheet the stamps are on (actual size is 6" x 6"). The photo you see at the top of the post today is some beautiful artwork made by the Close To My Heart art department using this set.
So, let me tell you how to get them all FREE the smartest way (in my humble opinion {wink}):
A. Go to my website and click on "Shop Online"
B. Purchase a one-year Studio J membership for $99 (order item #SJMEM12)
C. Purchase a package of Label Holders (order item #Z4127). These are a GREAT addition to any album spine, whether you are a Studio J scrapper or a Classic Scrapper.
D. Choose the Stamp of the Month FREE at checkout (Amore-D1445D)
E. Karen will email you to find out what color of album you want FREE and will ship it to you FREE (Black, Dk. Chocolate, Dk. Cranberry, Dk. New England Ivy, Hollyhock, Outdoor Denim).

Well, what are you waiting for? Spending $104.95 and getting almost $75 free is not a deal you see every day! Happy Holidays!

Wednesday, December 1, 2010

FREE 12" x 12" Faux Leather Album!


Yep, you read that correctly! Purchase a one-year Studio J membership from me between December 1 and 16 and receive a 12" x 12" Close To My Heart My Legacy Faux Leather Album (color or your choice: Black, Dark Chocolate, Dark Cranberry, Dark New England Ivy, Hollyhock, or Outdoor Denim) FREE. Yes, FREE, FREE, FREE! (over a $25 value).

You can make your one-year membership purchase by calling or emailing me (801.360.9896, pedermom@aol.com) or by going to my website (http://leavealegacy.myctmh.com) and clicking on the Studio J tab on the left side of the home page, Home Girl!

Close To My Heart’s online design software, Studio J™, helps you create two-page layouts faster, simpler, and easier—saving you time and money! You’ll love your Studio J layouts, perfect for your cherished album.

Here’s why:
• Every layout is custom printed using the highest quality photo processing paper and technology. Your layouts will last a lifetime!
• Choose from dozens of themed kits to suit any event or occasion, with coordinating embellishments, stickers, and fonts to customize your look.
• Select just the right pattern, accommodating from two to 15 photos per layout—great versatility.
• The software is free! Create an account to start designing complete layouts in just minutes.

Please your wallet. Save 50% off custom-printed layouts when you become a Studio J member!
Also enjoy loads of exclusive perks, like access to members-only kits and patterns as well as
free JPG files with every purchased layout. JPG files are the perfect way to save, print, or archive
your beautiful artwork. Pricing for custom prints starts as low as $6.50 per two-page, custom-printed layout (that’s just $3.25 per page!).

Here is a layout that I created just last month, in less than 10 minutes, using Studio J. Pretty awesome, right?
Try Studio J today and fall in love! Visit my website at http://leavealegacy.myctmh.com, click on the Studio J tab on the left side of the home page and go from there! You can try it out for FREE, create a few layouts to see what you think, but no charge unless you decide to purchase a membership after trying it out!

I am more than happy to answer any questions you might have. 801.360.9896, pedermom@aol.com.

Tuesday, November 30, 2010

Pedersen Slush...YUM!

When Dan-the-Man and I got married, I wanted to incorporate holiday traditions from both of our families into our life together. Of all the traditions, the one that was most important to Dan was Pedersen Slush. His mom, Halene made it for Thanksgiving, Christmas and New Years. After trying it for the first time myself, I had to agree that it was delicious. So, every year we make TONS of it. In fact, for Thanksgiving this year, I made 4 gallons. No kidding!

I thought you might enjoy the recipe too:

Pedersen Slush

In a large freezer container (I use a 1.5 gallon large tupperware container)
  • Dissolve 2 C. sugar into 8 C. very hot water
Then add:
  • 1-36 oz. can pineapple juice
  • 1-12oz. can frozen orange juice concentrate, melted
  • 1-8 oz. can frozen lemonade concentrate, melted (I just use the 12 oz. can and don't use it all)
  • 2 bananas, pureed like baby food
Whisk all of this together well and then add enough hot water to fill to one gallon. If you are using a 1-gallon freezer container, then don't fill it all the way up. It expands as it freezes. Also, the pureed bananas tend to float to the top so be sure to go out and whisk it a couple of times as it freezes so the bananas are evenly distributed.
To serve: scoop frozen slush into glasses or cups using an ice cream scoop like you see Dan-the-Man doing in the photo (the Cutco one is the absolute BEST!) then pour Sprite on top to make a slush. Add Sprite to your taste. Dan likes his pretty "sprite-y", while I like mine more slushy. Enjoy!

Monday, November 29, 2010

December Play Group Layouts (Mistletoe)

I am way behind and seem to keep getting behinder and behinder. Easton and Daysha's wedding is coming up soon (18 more days!) and between that and Thanksgiving I feel like I need at least another week before December gets here. Alas, that is not to be. I will have to make due with the time God gave me (which, by the way, God. It never seems to be enough!).

The photos you see today are of the three layouts we will be making in my December Play Group classes. Of course you can click on any image to see it larger and in more detail. It's too late to sign up for December classes but next week I will be posting the pages for my January classes, so be watching for them. I gotta say, they are AWESOME! I'll be teaching lots of new techniques in my January classes.

Layout #1 Below: "Christmas Time"Close Up of Layout 1's Journaling Below:
Layout #2 Below: "Christmas Eve at Grandma's"
Layout 3 Below: "Christmas 2009"Close Up of Layout 3's Journaling Below:
Even though it's too late to sign up for December's class, I thought you might enjoy seeing the pages anyway. If you're not coming to class, you can always use them for inspiration when scrapping on your own.

These layouts were all made using Close To My Heart's elegantly beautiful Mistletoe Level 2 Paper Pack (X7130B), Mistletoe My Stickease (X7130C), Mistletoe Level 2 Assortment (Z1330), Pearl Opaques (Z1336), Cranberry Ribbon Rounds (Z1209), and Red, Pink and Purple Assortment Sparkles (Z1326).

You can shop 24/7 on my website for these and so many other wonderful items. Click here to begin!

Thursday, November 25, 2010

Happy Thanksgiving!


Happy Thankgsiving! My day was spent with family, good food, and lots of great conversation and fun. I am so grateful for so many things, but if I had to pick my 'mostest gratefullest' this year, it would have to be that Dan found a great job.

If you've been reading my blog for very long, you know that in October of 2008, after over 20 years in the pharmaceutical industry, Dan lost his job. It took him about 18 months of looking and working toward finding another job every day to find one. I am so grateful that job finally did come. I'm grateful for what we learned during those 18 months (although I would NEVER choose to go through it again), and I'm grateful that we determined at the beginning of it all that no matter what happened we would make sure that through it all we would become closer and stronger as a family and not let it tear us apart. I am so grateful that we worked so hard to make sure that was the case.

I love my family! I'm so grateful for each one of them. But, most of all, I am soooooooo grateful for my hubby, Dan-the-Man!

I'm also grateful to all of YOU, my blog readers. Thanks for stopping by!

Tuesday, November 23, 2010

Snow, Snow and SNOW!


I've been out all morning running errands trying to beat the blizzard. It will be interesting to see what this storm brings! I have never, in all my years in Utah, seen such a thing. Radio stations are closing, grocery stores are closing, just about EVERY business around me is closing today by 4 pm...even the craft stores (I can see grocery stores and radio stations, but craft stores? Those are a necessity! lol.). The storm is supposed to hit our area between 5 and 7 pm. For a state that is used to snow, and lots of it, this is unheard of. If this blizzard is everything it has been predicted to be, it will be quite an experience. I mean really, who ever heard of the radio stations shutting down? Of course my son's basketball team is still practicing. Priorities, my friends, priorities.

One thing that is not closing down is my website. If you are holed up waiting out a storm, there is no better time to do a little shopping! Of course I had to get that in! Tee hee.

In the midst of this panic, my son, Easton is driving home from Cedar City for the Thanksgiving holiday. Everyone say a little prayer for him to make it safely over the mountain passes!

Off to make something warm and wait for Dan, Easton and Dawson to get to our home safely tonight. I hope you and yours are all safe in your homes too.

Saturday, November 20, 2010

Thanksgiving Card


With Thanksgiving less than a week away, I decided to make a card for each member of my family to tell them how thankful I am for them. This is one of the cards (5" x 7") I made. I sort of experimented on this one, so I'll explain what I did to get the 'look.'

Before I explain, I just wanted to note a couple of things:
  1. The stamp set that the sentiment in the lower right hand corner came from is this month's (November) Stamp of the Month (D1444-A Little Thanks).
  2. Close To My Heart has been MORE than generous this month! If you spend $100 (before shipping and tax), you get this stamp set (D1444-A Little Thanks...$22.95 value) and any other A-D size stamp set (up to $22.95) in the Autumn/Winter Idea Book absolutely FREE! That's $45.90 FREE when you spend $100. I have included a photo here of the entire stamp set (actual size of the carrier sheet is 6" x 6"). What are you waiting for? Either head to my website to order, or email or give me a call (pedermom@aol.com, 801.360.9896). We'll get your order taken care of in a jiffy!

New techniques I tried:
  • On the damask embossed piece I did the following: on a Sunflower piece of cardstock I stamped the damask tiles in sunset ink and then quickly embossed them with clear embossing powder. I wasn't sure I was 100% excited about how bright it all looked when I was done since I was going for something warm and inviting for Thanksgiving. So, I filled a little 2 oz. spray bottle with some water and about 20 drops of chocolate reinker. I placed the piece on some newspaper and sprayed away. LOVE the look! After it dried I was ready to go! Oh, you'll want to carefully wipe the embossed parts off since the spray won't dry on them.
  • The base of the card is sunset cardstock. Again, I thought it looked a bit bright for the look I was going for so I took my desert sand pad and rubbed directly onto the paper, first from side to side and then up and down until I had covered the whole surface area. Perfect. Again, just the look I wanted.
  • The words in the lower right hand corner are also embossed, this time using cocoa embossing powder.
  • I think I've shared this tip before, but just in case I haven't...did you know that you can created scalloped edges (like the chocolate cardstock scallops that border the damask piece) with our corner rounder? All you have to do is remove the guard and turn your rounder upside down so that as you pop along the edge you can see where to line up the next scallop. Neato, Cheeto!
I was pretty pleased with the look when it was all finished. I hope the recipient of this card will like it too! It's a simple look because I really wanted the cool techniques and style of the patterned paper I created to be the focal point.

Close To My Heart products used: A Little Thanks Stamp Set (D1444), Damask Tiles Stamp Set (C1342), Sunset Cardstock (X5758), Sunflower Cardstock (1242), Chocolate Cardstock (X5643), Sunset Stamp Pad (Z2191), Chocolate Reinker (Z2211), Versamark Pad (Z891), Cocoa Embossing Powder (Z1246), Clear Embossing Powder (Z671), Designer Ribbon Rounds-Cocoa CollectionCorner Rounder-with guard removed (Z578).

Click here to visit my website and shop 24/7...especially when you're feeling thankful!

LinkWithin

Related Posts with Thumbnails